When you get your 3D printer, it will come with some basic assembly instructions. The manufacturer will show you how to put your printer together. I have a Creality Ender 3 Pro so I am assuming most printers are the same, but don’t hold me to that. The Ender 3 Pro is a great entry level printer so the instructions may be lacking compared to more expensive printers.
Now that you have your printer assembled and have printed your first awesome test print that came with it, what do you do? You should actually do this before your first print, but hey we are excited and want to print something right?
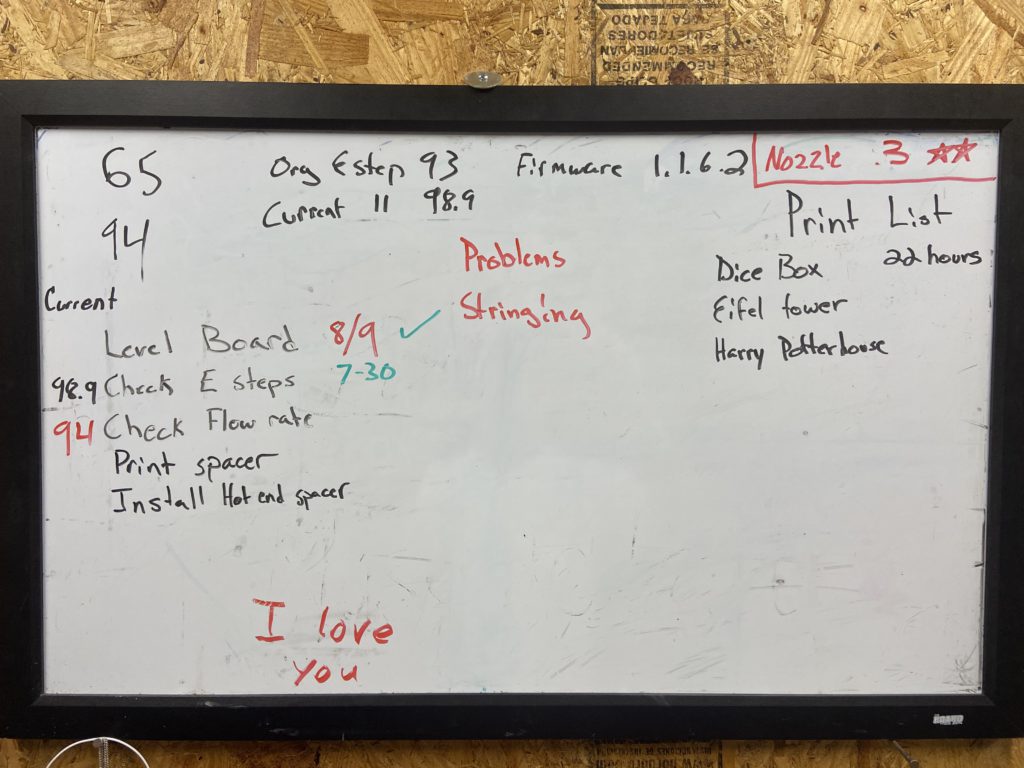
- First and this is probably the most important thing – Level your print bed. Your print bed most likely will not be close to level coming from the factory. This is the video I watched to level my print bed. I have also come to realize this isn’t a set-it and forget-it exercise. I leveled my bed and things were great. Then I started having weird issues with my prints. After spending days trying to track it down, I realized my bed was no longer level. I now have a white board by my printer I use to mark when I last leveled my print bed, along with other important information.

- Check your 3D Printer Esteps and Flow Rate. This is how you calibrate your printer and make sure it is putting out the amount of filament that it should be. I used this video.
Those are some essential first steps with your new 3D printer. Save yourself a lot of time, frustration, and filament by doing them.

